Quick Summary
| Scenario | Common Fix |
|---|---|
| Not detected in BIOS (desktop/laptop) | Check CSM/UEFI settings, update motherboard firmware, reseat drive |
| Fails to boot after detection | Set correct boot order, enable UEFI, disable Secure Boot temporarily |
| Cold boot issues (drive missing after shutdown) | Disable Fast Boot, update SSD firmware, adjust PCIe link speed |
| Raspberry Pi 5 not detecting | Ensure NVMe adapter compatibility, update EEPROM, check power supply |
The Problem: WD BLACK SN850X NVMe SSD Vanishes or Won’t Boot
The WD BLACK SN850X is one of the fastest PCIe 4.0 NVMe SSDs on the market, but some users encounter frustrating issues:
- The drive is not recognized in BIOS at all.
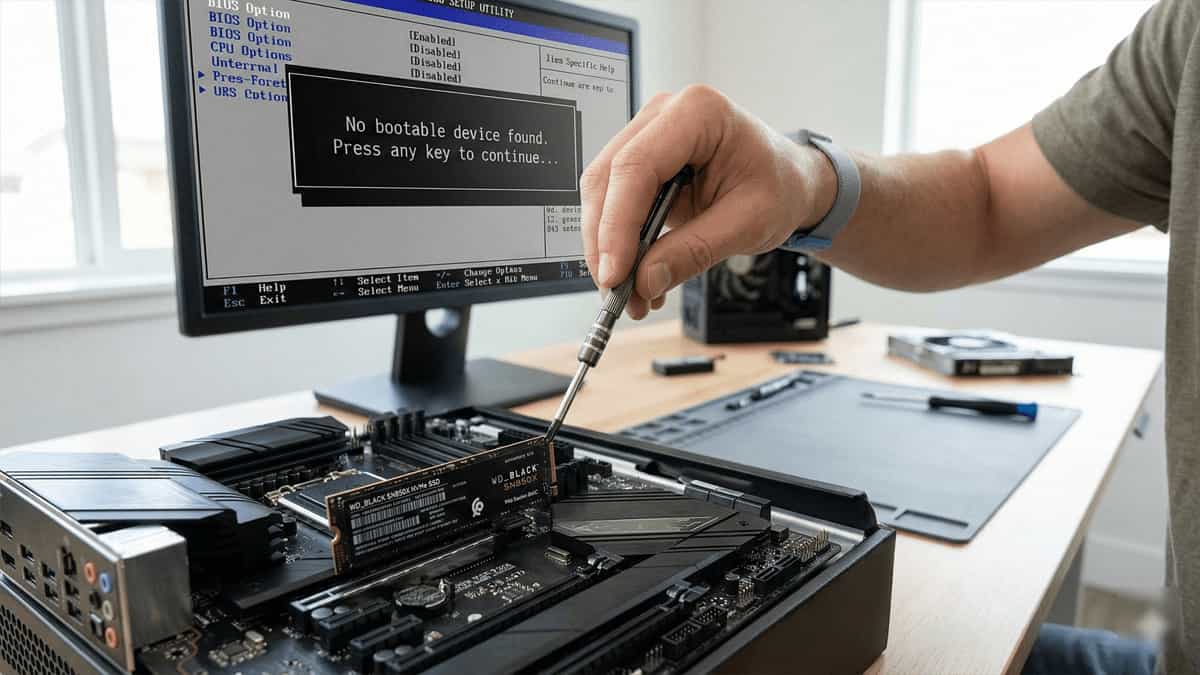
- It is detected but fails to boot (black screen or “No bootable device”).
- Cold boot problems: the drive works fine after a warm restart but disappears when the system is powered off and on again.
- These issues occur on desktop PCs, laptops, and even on Raspberry Pi 5 when using an NVMe adapter.
In most cases, the hardware is perfectly fine. The problem lies in BIOS/UEFI settings, firmware compatibility, or power delivery.
Why Does This Happen?
Common Causes Across All Systems:
- BIOS/UEFI Mode Mismatch: The drive requires UEFI boot, but the system is set to Legacy/CSM.
- PCIe Link Speed: The SN850X is a Gen4 drive; some motherboards or adapters may not negotiate the correct speed.
- Cold Boot Timing: The drive may take slightly longer to initialize than the motherboard allows during a cold start.
- Firmware Issues: Outdated SSD firmware or motherboard BIOS can cause detection failures.
- Power Supply (especially on Pi 5): The NVMe adapter may draw more power than the Pi’s USB or GPIO can provide.
Step‑by‑Step Solutions
1. Check BIOS/UEFI Settings (Desktop & Laptop)
The most common fix for detection issues is ensuring your BIOS is configured correctly.
- Enter BIOS (F2, Del, or Esc during startup).
- Boot Mode: Set to UEFI (disable Legacy/CSM).
- Secure Boot: Can be enabled or disabled; if the drive fails to boot, try disabling it temporarily.
- SATA/NVMe Configuration: Ensure the M.2 slot is set to NVMe or PCIe mode (not SATA). Some motherboards have a separate “M.2” configuration menu.
- PCIe Link Speed: If available, force the M.2 slot to Gen3 or Gen4 (Gen4 may cause instability on older boards).
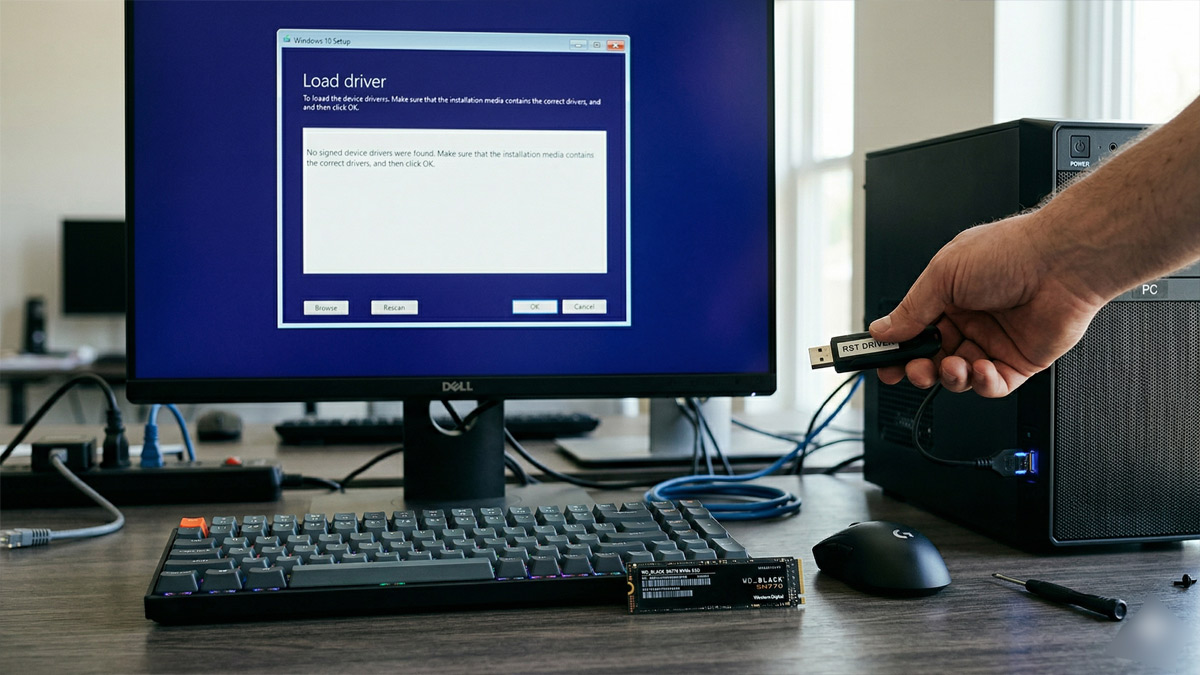
Important for Intel 11th‑gen and newer: If you are using an Intel system with VMD (Volume Management Device) enabled, the drive may be detected in BIOS but not by the Windows installer. For help with this, refer to our guide: Missing Intel RST Drivers: How to Load NVMe Driver During Windows Installation.
For a deeper understanding of storage technologies, check out:
👉 HDD vs SSD vs NVMe: A Comprehensive Comparison
2. Update Motherboard BIOS and SSD Firmware
Outdated firmware is a frequent culprit.
- Motherboard: Visit your motherboard manufacturer’s website and download the latest BIOS. Install it according to their instructions.
- WD BLACK SN850X: Use the Western Digital Dashboard to check for firmware updates. Even if the drive is not detected in BIOS, you may be able to update it on another PC.
3. Reseat the Drive and Check M.2 Slot
If the drive is intermittent or not detected at all, reseating can help.
- Power off, unplug, and remove the drive.
- Inspect the M.2 slot and drive contacts for debris.
- Reinsert firmly and secure with the screw.
- If your motherboard has multiple M.2 slots, try a different slot (some slots may share bandwidth with SATA ports).
4. Adjust Boot Order and Disable Fast Boot
When the drive is detected but won’t boot:
- In BIOS, set the WD BLACK SN850X as the first boot device.
- Disable Fast Boot – it can skip initialization of some NVMe drives.
- If Windows was installed on the drive, ensure the Windows Boot Manager entry is present and selected.
5. Cold Boot Fixes (Drive Missing After Shutdown)
For cold boot issues (drive works after a restart but not after full shutdown):
- Disable Fast Startup in Windows Power Options.
- In BIOS, disable Fast Boot.
- Increase POST delay (if available) to give the drive more time to initialize.
- Update to the latest BIOS version.
6. Raspberry Pi 5 Specific Solutions
The Raspberry Pi 5 supports NVMe via an M.2 HAT (adapter). Detection issues often stem from power or compatibility.
- Power Supply: Use the official Raspberry Pi 27W USB‑C power supply. Standard 15W phone chargers will often cause the SN850X to drop out under load; the official 5A supply is non‑negotiable for NVMe stability.
- Adapter Compatibility: Ensure your M.2 HAT is designed for the Pi 5 (e.g., Pimoroni NVMe Base, Pineberry Pi HatDrive). Some adapters may need a separate power cable.
- EEPROM Update: Update the Raspberry Pi 5 bootloader to the latest version that includes NVMe boot support. Run
sudo rpi-eeprom-updateand enable PCIe boot viaraspi-config. - PCIe Gen Speed: If the drive is detected but unstable, try forcing PCIe Gen2 or Gen3 in
/boot/config.txtby addingdtparam=pciex1_gen=2.
Additional Resources
- Best 2TB and 4TB SATA SSDs – Features Comparison – if you’re considering alternative storage options.
- Windows 11 System Minimum Requirements – ensure your system meets the requirements for optimal NVMe performance.
- MSI vs ASUS vs Gigabyte B760 Motherboard Comparison – for those building a new desktop, check motherboard compatibility.
- How Much RAM Do You Need? – a helpful resource for system building.
WD BLACK SN850X detection and boot failures are almost always resolvable with the right BIOS settings, firmware updates, and a few hardware checks. Whether you’re using a desktop, laptop, or Raspberry Pi 5, following these steps should restore normal operation.
Still having issues? Share your setup and the exact behavior in the comments, and we’ll help you troubleshoot further.
Disclaimer: Always back up important data before updating firmware or changing BIOS settings.