
Quick Summary: Choose Your Fix
| Fix Method | Difficulty | When to Use |
| Disable Intel RST / VMD | Easy | Most common fix for 11th‑gen Intel and newer |
| Load NVMe Driver | Medium | When drive appears in BIOS but not in Windows installer |
| Switch RAID to AHCI | Easy | If system defaults to RAID mode |
| Check Connection | Easy | If drive is missing from BIOS as well |
Export to Sheets
The Problem: WD SN770 Visible in BIOS but Not in Windows Installer
You’ve just built a new PC or upgraded your storage. The WD SN770 NVMe SSD is correctly installed and shows up in the BIOS, but when you boot from a Windows 11 or Windows 10 installation USB, the drive list is empty.
This is a common but solvable issue, especially on modern motherboards (Intel 11th‑gen and newer, or AMD Ryzen systems). The root cause is almost always a missing storage driver or a BIOS configuration mismatch.
Why Does This Happen?
- Intel VMD (Volume Management Device): On newer Intel platforms, VMD is enabled by default. It “hides” the NVMe drive behind a controller that the standard Windows installer doesn’t recognize without a specific driver.
- RAID vs. AHCI Mode: Some motherboards default to RAID mode. Windows Setup often lacks these RAID drivers out of the box.
- Gen 4 Compatibility: High-performance drives like the WD SN770 use PCIe Gen 4. On older boards, a BIOS update may be required for the installer to properly “see” the handshake between the CPU and the drive.
Step‑by‑Step Solutions
1. Disable Intel RST / VMD in BIOS (Recommended)
For 90% of users, this is the quickest fix.
- Restart and enter BIOS (usually F2, Del, or F12).
- Look for VMD Setup Menu or Intel Rapid Storage Technology (usually under “Advanced” or “Storage Configuration”).
- Set VMD Controller to Disabled.
- Ensure the storage mode is set to AHCI.
- Save and exit (F10). Boot back into Windows Setup—the drive should now appear.
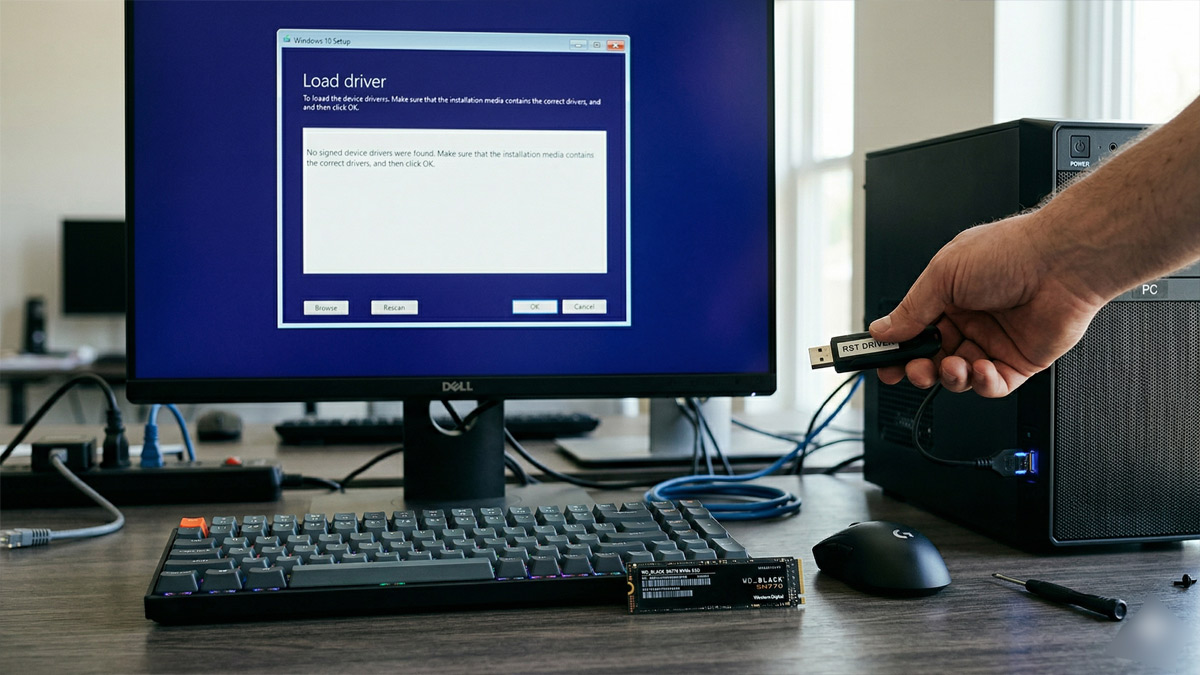
2. Load NVMe Driver During Windows Setup
If you want to keep VMD enabled, you must provide the driver manually.
- Download the Intel RST / VMD driver from your motherboard manufacturer’s site.
- Crucial: Extract the
.zipfile and copy the folder to your Windows Installation USB. - In Windows Setup, click Load Driver at the bottom of the empty drive list.
- Browse to the folder on your USB. Once the driver loads, your WD SN770 will appear.
3. Verify Your Windows Installation Media
An outdated installer may lack native NVMe support.
- Use the Windows Media Creation Tool to create a fresh USB drive. Newer versions of the Windows 11 installer include broader driver support for NVMe controllers.
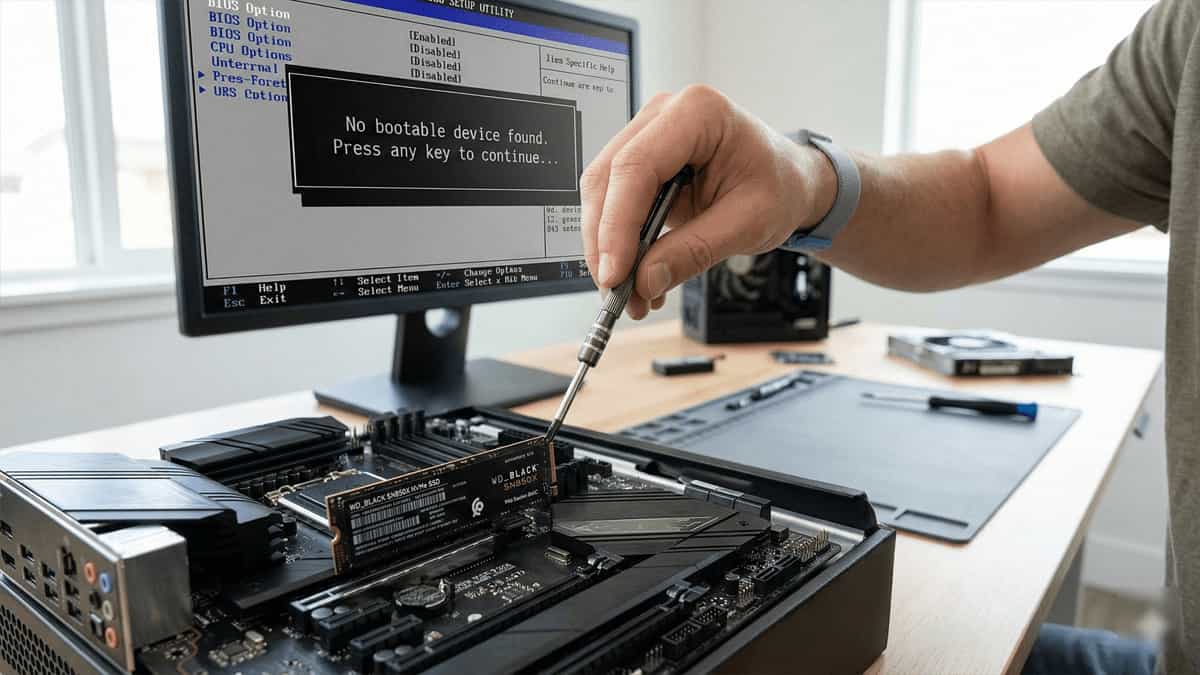
4. Check Physical Installation (If Not Seen in BIOS)
If the drive is missing from the BIOS “Boot” or “Storage” priority list:
- Reseat the drive: Unplug the PC, remove the SSD, and reinsert it firmly into the M.2 slot.
- Check Slot Compatibility: Ensure the M.2 slot supports NVMe/PCIe. Some older slots only support M.2 SATA. Refer to our guide on HDD, SSD, and NVMe Differences to confirm your hardware type.
A “missing” drive during installation is rarely a hardware failure. It’s almost always a communication gap between the BIOS and the Windows installer. By disabling VMD or loading the RST driver, you’ll have your WD SN770 up and running in minutes.
Still not seeing your drive? Leave a comment with your motherboard model below, and we’ll help you find the right BIOS setting!