
Quick Summary: Choose Your Fix
| Fix Method | Difficulty | When to Use |
|---|---|---|
| Initialize Disk | Easy | Drive appears in Disk Management as “Unknown” or “Not Initialized” |
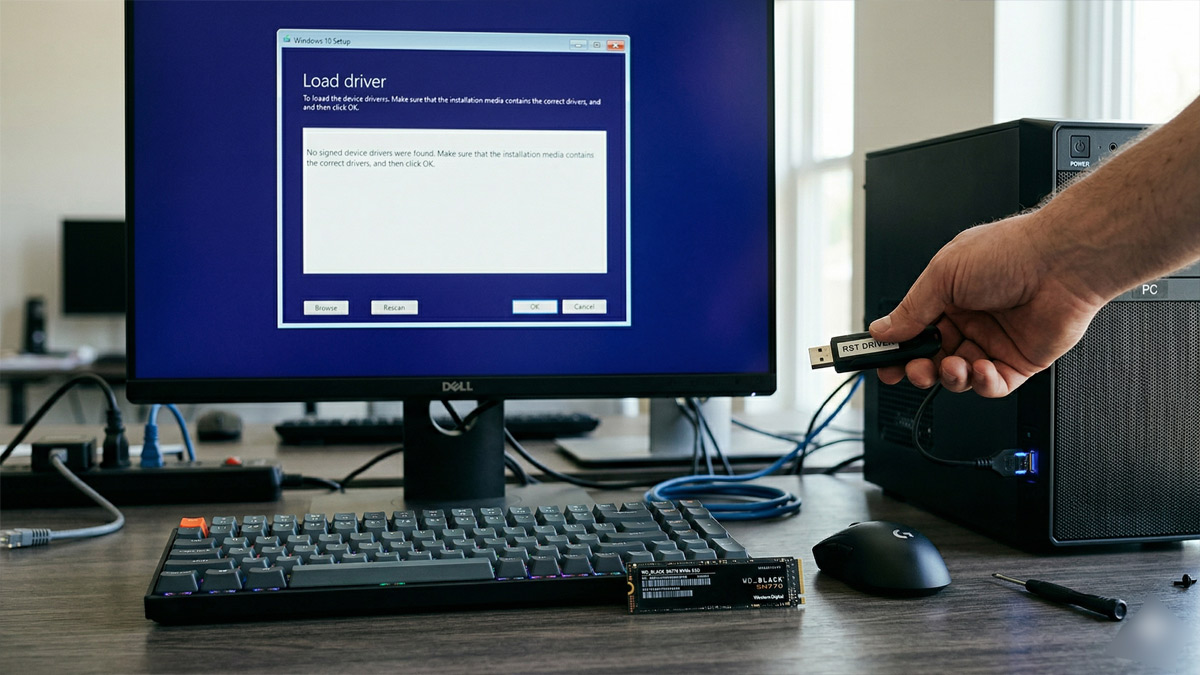
| Update NVMe Drivers | Medium | Drive missing entirely in Disk Management but visible in Device Manager |
| Check Disk Management for Offline Status | Easy | Drive listed but with a red down arrow (Offline) |
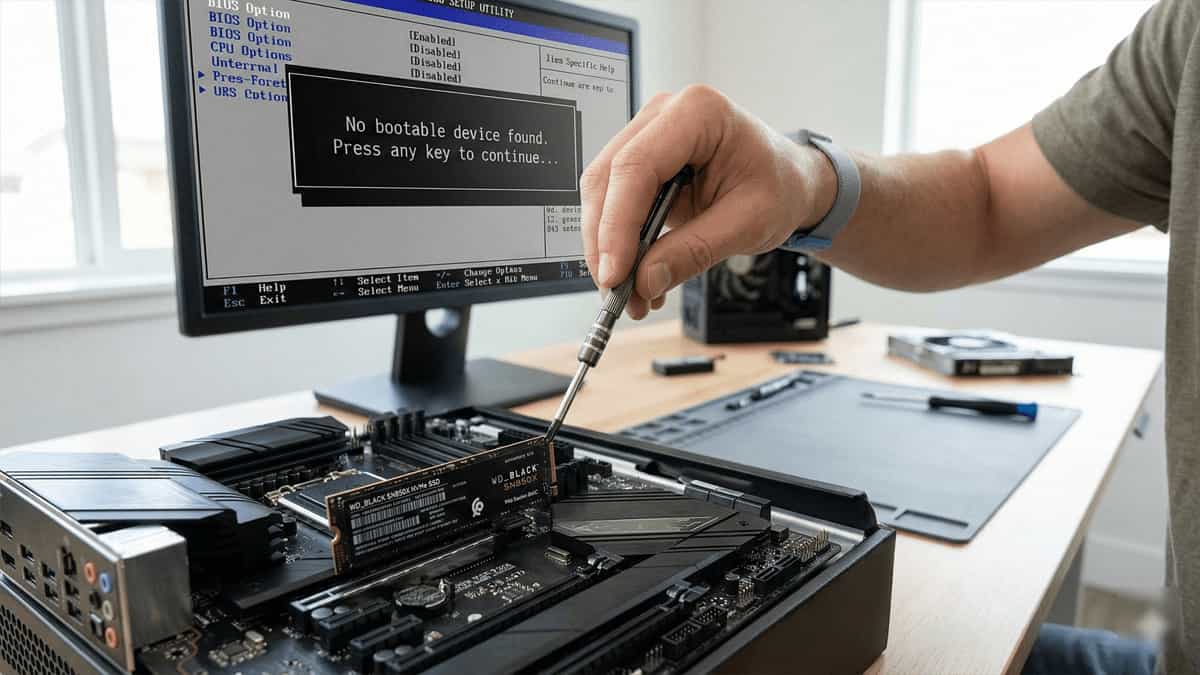
| Reseat or Test in Another Slot | Medium | Drive not detected in BIOS or Disk Management at all |
The Problem: WD SN770 Installed but Not Visible in Disk Management
You’ve physically installed your WD SN770 NVMe SSD, and it shows up in the BIOS or Device Manager. But when you open Disk Management (diskmgmt.msc), the drive is nowhere to be found. You can’t partition it, format it, or assign a drive letter. This leaves your new storage completely unusable.
This problem is common with NVMe drives, especially after a fresh installation or when adding a second drive to an existing Windows system. The cause is usually a simple configuration issue—not a hardware failure.
Why Does This Happen?
There are three main reasons a drive appears in BIOS or Device Manager but not in Disk Management:
- Disk Not Initialized – A brand‑new drive often shows up in Disk Management as “Unknown” or “Not Initialized” and requires initialization before use.
- Drive Offline – Windows may set the drive to offline status due to signature conflicts or administrative policies.
- Missing or Outdated NVMe Driver – Even if the drive is detected at the BIOS level, Windows may lack the correct driver to manage it.
- Hardware Connection Issue – Rarely, the drive may be partially detected but not fully recognized.
Step‑by‑Step Solutions
1. Initialize the Drive in Disk Management
If your drive appears in Disk Management but has a black bar and says “Unknown” or “Not Initialized”, it simply needs to be initialized.
- Press Windows + X and select Disk Management.
- Locate the new drive (it will show as “Unknown” with a black bar).
- Right‑click the disk label (the left‑most box) and choose Initialize Disk.
- Select GPT (GUID Partition Table) for modern systems (recommended) or MBR if needed.
- After initialization, the drive will show as “Unallocated”. Right‑click the unallocated space and select New Simple Volume to format and assign a drive letter.
2. Bring the Drive Online
If the drive appears but has a red down arrow (Offline), it is offline.
- In Disk Management, right‑click the disk label (the grey area with “Offline”) and select Online.
- The drive should now become available for partitioning.
3. Update or Reinstall NVMe Drivers
If the drive is not visible in Disk Management at all, but appears in Device Manager, the driver might be missing or outdated.
- Open Device Manager.
- Expand Disk Drives – you should see your WD SN770 listed. If it has a yellow exclamation mark, the driver is missing.
- Right‑click the drive and select Update driver → Search automatically for drivers.
- If that doesn’t work, visit the WD support site or your motherboard manufacturer’s page to download the latest NVMe driver (often part of the Intel RST or AMD Chipset drivers).
- After installing, restart your PC.
For a deeper understanding of NVMe versus older storage types, see our guide:
👉 HDD vs SSD vs NVMe: A Comprehensive Comparison
4. Reseat the Drive or Try a Different M.2 Slot
If the drive is not detected in Disk Management and does not appear in Device Manager either, but is still visible in BIOS:
- Power off and unplug your PC.
- Remove the WD SN770 from its M.2 slot and reinsert it firmly.
- If your motherboard has multiple M.2 slots, try a different slot (some slots may be disabled when certain SATA ports are used).
- Reboot and check Disk Management again.
5. Check for Disk Signature Conflicts
If you’re adding a drive that was previously used in another system, it may have a duplicate disk signature.
- Open Command Prompt as Administrator.
- Type
diskpartand press Enter. - Type
list diskto see all drives. If your drive appears but has a “GPT” or “MBR” but no free space, you may need to clean it. - Warning: This will erase all data on the drive. Select the correct disk with
select disk X(replace X with the disk number). - Type
cleanand thenexit. Return to Disk Management and initialize the drive.
Additional Resources
- Best 2TB and 4TB SATA SSDs – Features Comparison – if you’re considering alternative storage options.
- Windows 11 System Minimum Requirements – ensure your system meets the requirements for optimal NVMe performance.
- How Much RAM Do You Need? – a helpful resource for building or upgrading your system.
A drive that is installed but missing from Disk Management is almost always a software configuration issue, not a hardware failure. The quickest fix is usually to initialize the drive or bring it online. If the drive doesn’t appear at all, updating NVMe drivers or reseating the drive should resolve it.
Disclaimer: Always back up important data before making changes to disk management or using diskpart.