
Quick Summary: Two Approaches
| Method | Difficulty | Best For |
| Load RST Driver During Setup | Medium | Keeping VMD features active; no BIOS changes needed |
| Disable VMD/RST in BIOS | Easy | Highly Recommended for single-drive home users |
Export to Sheets
The Problem: Windows Setup Shows No Drives
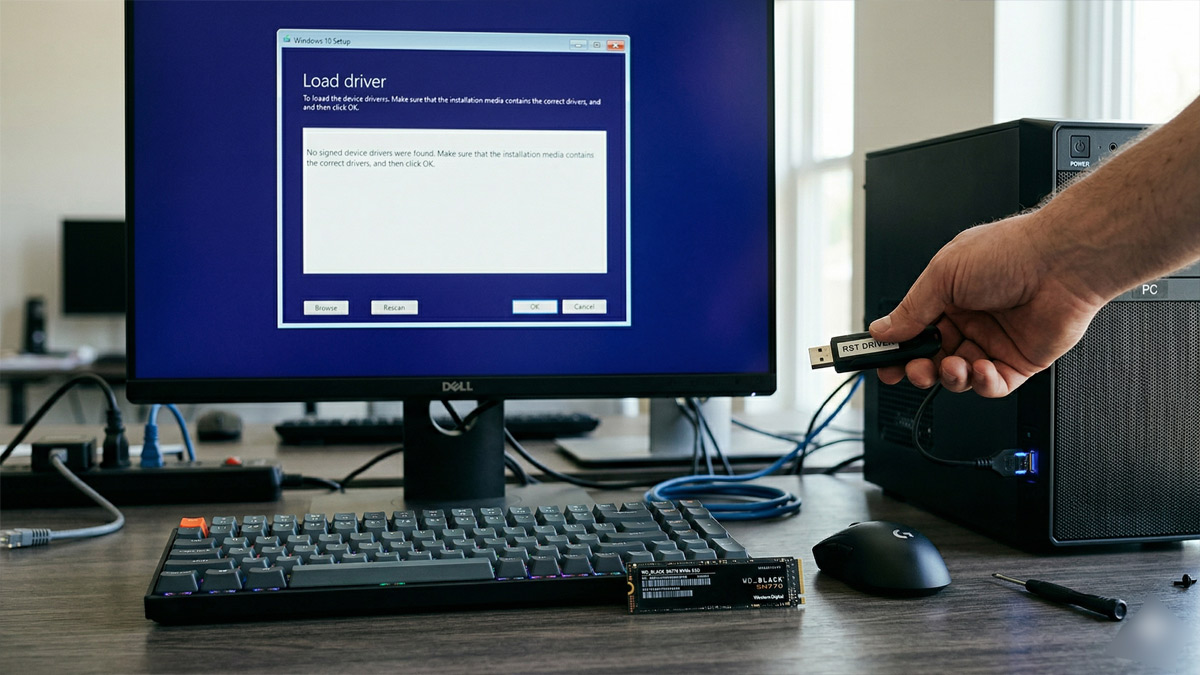
You’re installing Windows 11 or 10 on a modern PC—usually with an Intel 11th‑gen processor or newer. The NVMe SSD (like the WD SN770) is visible in BIOS, but when you reach the Windows installation screen, the drive list is completely empty.
This happens because the standard Windows installer does not include the specific Intel Rapid Storage Technology (RST) or VMD (Volume Management Device) drivers required for modern storage controllers.
Why Intel RST/VMD Causes This
Intel VMD is a hardware logic layer that manages NVMe SSDs to provide features like RAID and enhanced power management. Because it “abstracts” the drive, the Windows installer needs a specific “map” (the driver) to find the SSD behind that layer.
Step‑by‑Step Solution: Load the Intel RST Driver During Setup
1. Download the Correct Driver
- Visit your motherboard manufacturer’s support page.
- Search for Intel Rapid Storage Technology (RST) Driver.
- Look for the “Floppy” or “Pre-installation” driver package (often referred to as the F6 driver).
- Important: Extract the ZIP file to a USB flash drive. The installer cannot read drivers inside a
.zipor.exefile.
2. Boot from Windows Installation Media
- Boot from your Windows USB.
- Proceed until you reach the “Where do you want to install Windows?” screen.
3. Load the Driver
- Click Load Driver in the bottom-left corner.
- Click Browse and select the folder on your USB drive containing the extracted driver files (often named
f6vmdflpy). - Select the Intel RST VMD Controller from the list and click Next.
- The driver will load, and your NVMe drive should instantly appear in the list.
4. Proceed with Installation
Once the drive is visible, you can create partitions and continue the installation as normal.
Alternative: Disable Intel VMD / RST in BIOS
If you aren’t using a RAID array, disabling VMD is the simplest permanent solution and often improves compatibility with third-party tools.
- Enter BIOS (F2, Del, or F12 during boot).
- Navigate to Advanced > Storage Configuration (exact names vary by brand).
- Set VMD Controller to Disabled.
- Ensure SATA Mode is set to AHCI.
- Save and Exit (F10). Your drive will now appear in Windows Setup without any extra drivers.
Note: If you are using a WD SN770 and still see crashes after installation, refer to our guide on Fixing Windows 11 24H2 BSOD Crashes.
Additional Tips
- Verify Connections: If the drive is missing in BIOS too, check your physical installation. See our HDD, SSD, and NVMe Comparison for slot compatibility details.
- System Check: Ensure your build meets the Windows 11 System Minimum Requirements before proceeding.
Final Thoughts
Missing Intel RST drivers are the most common hurdle in modern PC building. Whether you choose to load the driver or disable VMD, both fixes are safe and effective.