
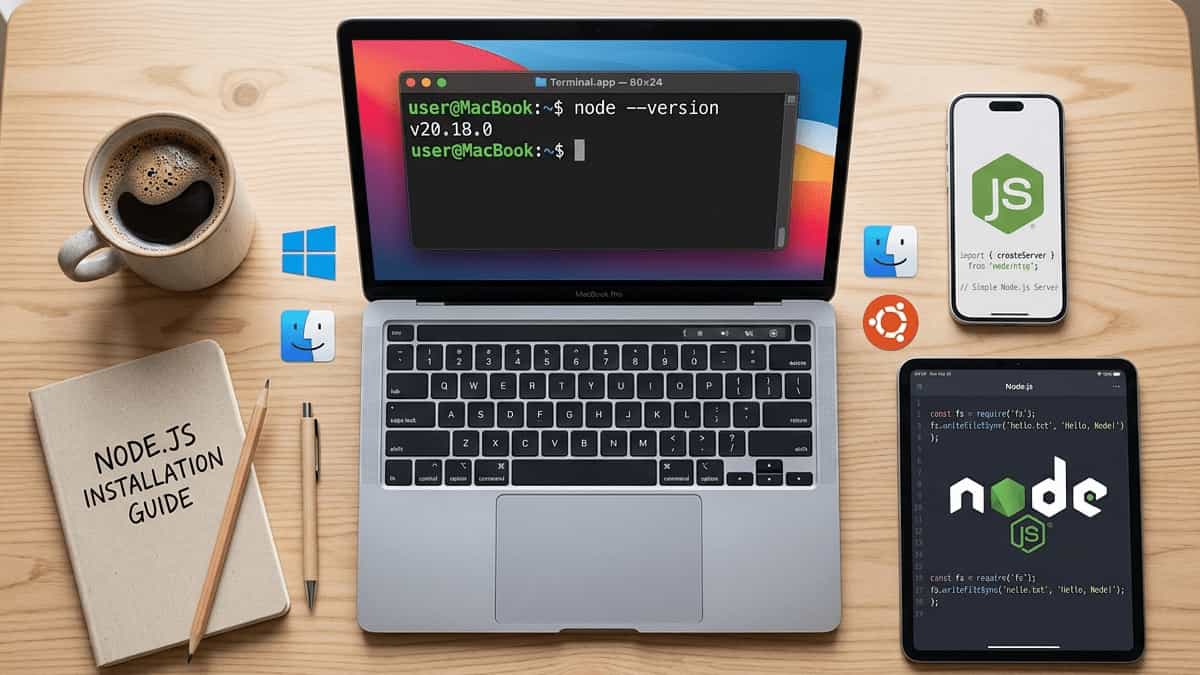
If you are completely new to web development or just want to run JavaScript on your computer, Node.js is the tool you need. This guide walks you through installing Node.js for the very first time, explains a few essential commands, and helps you verify that everything works correctly.
What is Node.js?
Node.js is a runtime environment that lets you execute JavaScript code outside of a web browser. With Node.js you can build back‑end services, command‑line tools, or even desktop applications. It uses an event‑driven, non‑blocking model, making it fast and efficient.
Step 1: Choose the Right Version
Node.js offers two main release lines:
- LTS (Long‑Term Support) – recommended for most beginners and production use. It is stable and receives security updates for a long time.
- Current – includes the latest features but changes more often.
For a first‑time installation, always choose the LTS version.
Step 2: Install Node.js on Your Operating System
1. Windows
Before installing, ensure your PC meets the Windows 11 System Minimum Requirements to avoid performance issues.
- Go to the official Node.js website:
https://nodejs.org - Click the LTS download button. This will give you a
.msiinstaller. - Run the downloaded file and follow the setup wizard.
- Make sure to check the option “Automatically install the necessary tools” (this also installs npm and adds Node.js to your system PATH).
- After the installation finishes, restart your computer (or at least restart your terminal).
2. macOS
- Using the official installer
Download the.pkgfile from the Node.js website (LTS version) and run it. Follow the on‑screen instructions. - Using Homebrew (recommended for developers)
If you have Homebrew installed, open Terminal and run:brew install node@20
Replace20with the current LTS major version. Then runbrew link node@20.
3. Linux (Ubuntu / Debian)
If you are setting up a fresh environment, check the Ubuntu 24.04 System Requirements to ensure compatibility.
Open a terminal and run the following commands:
# Update package index
sudo apt update

# Install Node.js from the official Ubuntu repository (may be an older version)
sudo apt install nodejs npm

# For the latest LTS version, use NodeSource
curl -fsSL https://deb.nodesource.com/setup_20.x | sudo -E bash -
sudo apt install -y nodejs
Note: Replace 20 with the latest LTS version number found on the official Node.js site (for example, 22 or 24). The script automatically adds the correct repository. After that, Node.js and npm are ready.
Step 3: Verify the Installation
No matter which operating system you use, open a terminal (Command Prompt on Windows, Terminal on macOS/Linux) and type these two commands:
node --version
npm --version
You should see version numbers printed, for example:
v20.18.0
10.8.2
If you see the versions, Node.js and npm (Node Package Manager) are installed correctly.
Step 4: Run Your First Node.js Command
Create a simple “Hello World” to make sure everything works. In your terminal, type:
node -e "console.log('Node.js is working!')"You will see the message Node.js is working! printed directly in the terminal.
Essential Node.js Commands for Beginners
| Command | What it does |
|---|---|
node --version or node -v | Shows the installed Node.js version. |
npm --version or npm -v | Shows the installed npm version. |
node | Opens the Node.js REPL (interactive environment). Type .exit to leave. |
node filename.js | Runs a JavaScript file named filename.js. |
npm init -y | Creates a package.json file with default values for a new project. |
npm install <package-name> | Installs a package locally for your project. |
npm install -g <package-name> | Installs a package globally (useful for tools like nodemon or live-server). |
node -p "process.versions" | Displays detailed version information of Node.js and its dependencies. |
What’s Next?
After installing Node.js, you can start building real projects. Learn how to use npm to install libraries, set up a local web server with the http module, or explore frameworks like Express.js.
Choosing the right environment is key; see our guide on Comparing the Best OS for Programming and Coding to see which platform fits your workflow.
Related Articles from Mukunda Software
You may find these guides helpful as you continue your development journey:
- Ubuntu 24.04 System Requirements – Check if your Linux machine is ready
https://mukundasoftware.com/blog/software/operating-system/ubuntu-24-04-system-requirements.html - Windows 11 System Minimum Requirements (CPU, TPM) – Make sure your PC is compatible
https://mukundasoftware.com/blog/software/operating-system/windows-11-system-minimum-requirements-cpu-tpm-guide.html - Best Free Office Suites for Ubuntu – Productivity tools for your new development environment
https://mukundasoftware.com/blog/software/best-free-office-suites-ubuntu.html - Comparing the Best OS for Programming, Developers and Coding – Choose the right operating system for your workflow
https://mukundasoftware.com/blog/software/operating-system/comparing-the-best-os-for-programming-developers-and-coding.html
Final Tip
Always keep Node.js updated. For LTS versions, visit the official website every few months or use a version manager like nvm (Node Version Manager) – especially useful if you work on multiple projects that need different Node.js versions.
💡 Visual suggestion: Screenshots of the Windows installer, the terminal output after node --version, and the Ubuntu terminal commands would make this guide even more beginner‑friendly.
Now you are ready to run JavaScript anywhere. Happy coding!


